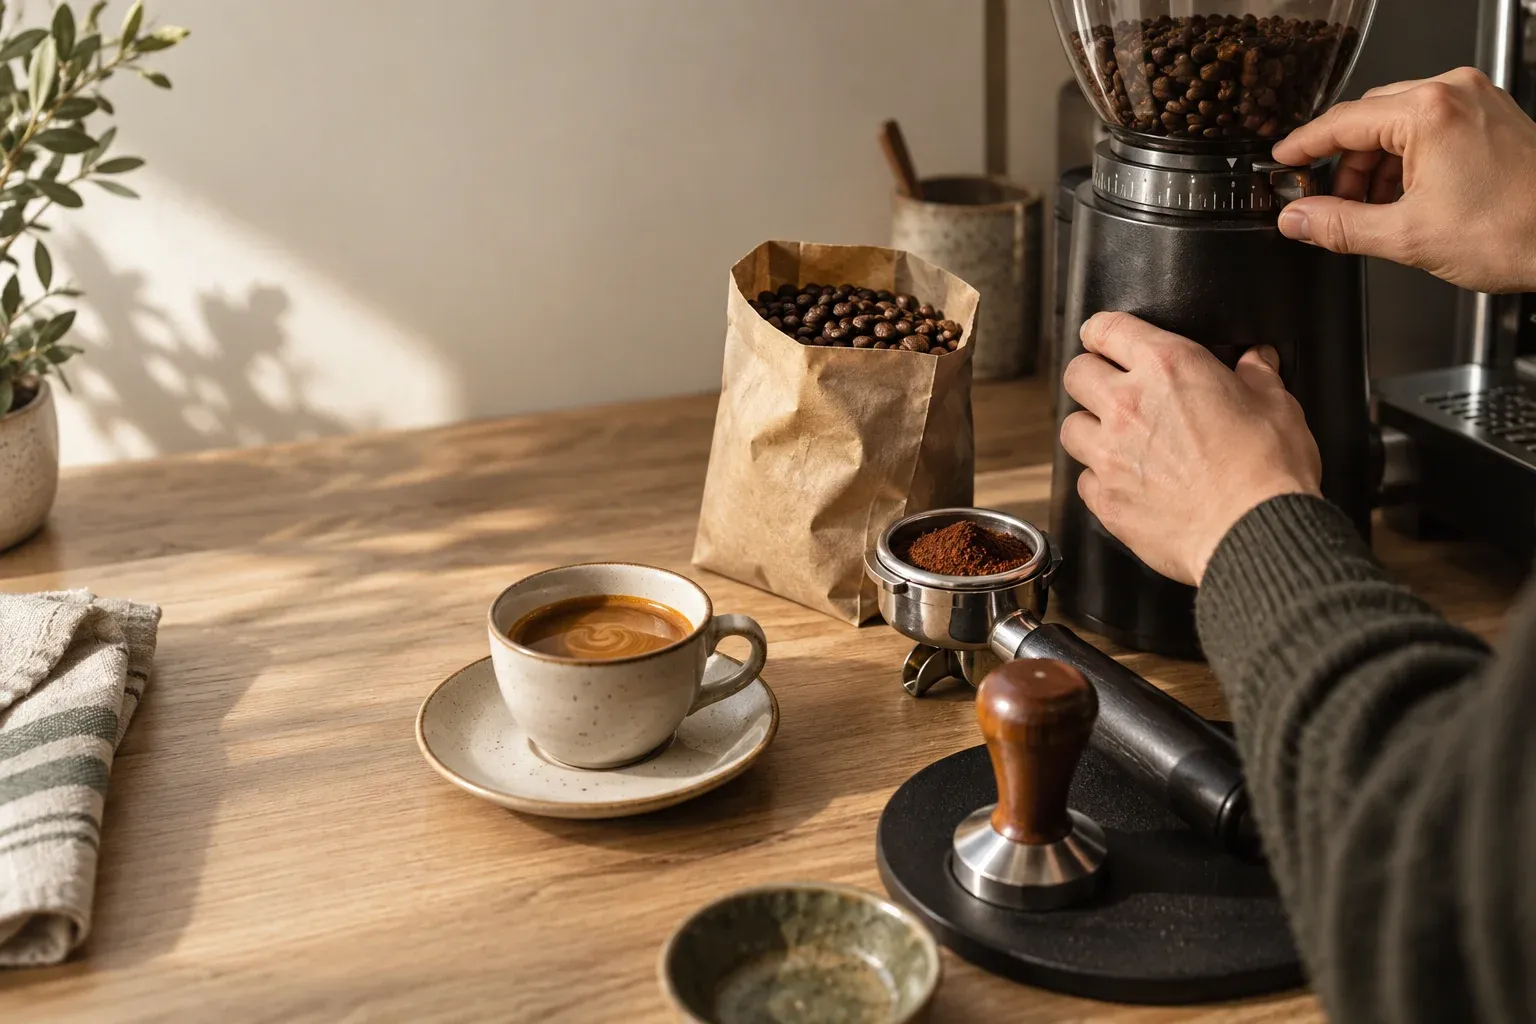
Opening a new bag is one of my favourite parts of making coffee. There is a little uncertainty in it: the beans smell promising, the roaster’s notes sound wonderful, and I still have no idea how they will behave on my machine.
I’m not a professional barista. I’m a curious home coffee maker who enjoys the taste, the process, and the science behind both. This is the routine I use to understand a new coffee without wasting half the bag: start from a repeatable recipe, keep the dose fixed, measure the yield, change one variable, and taste.
The clock helps me reach a useful range. The cup decides when I’m done.
This is my starting recipe, not a definition of good espresso. An excellent shot may fall outside that time range. The basket, grinder, machine, water, roast level, and—most importantly—your own taste matter more than landing on one supposedly perfect number.
Before the first shot
Choose a dose that fits your basket
Start with the dose your basket is designed to hold and keep it fixed while you dial in. If that is 18 grams, use 18 grams for every comparison. A changing dose makes grind adjustments harder to interpret.
Next, choose a starting yield. A 1:2 brew ratio—18 grams of dry coffee producing 36 grams of espresso—is a practical baseline for many medium-bodied coffees. Both La Marzocco and Clive Coffee use this ratio as a starting point, while emphasizing that it should be adjusted to taste.
Weigh the espresso rather than judging its volume. Crema can make two shots with the same liquid mass look very different, especially when one coffee is fresher than the other.
Make the puck repeatable
Before changing the grinder, remove avoidable variation:
- Warm the machine, portafilter, and cup.
- Weigh the dose after grinding.
- Distribute the coffee evenly and tamp level.
- Place the cup on a scale and stop at the target yield.
- Choose one timing convention—pump on or first drip—and use it consistently.
- Purge retained grounds after a grind adjustment if your grinder needs it.
I treat the first shot as a measurement, not a performance. I don’t try to rescue it by changing grind, dose, yield, and temperature together.
The three-to-five-shot loop
Shot one: find the neighborhood
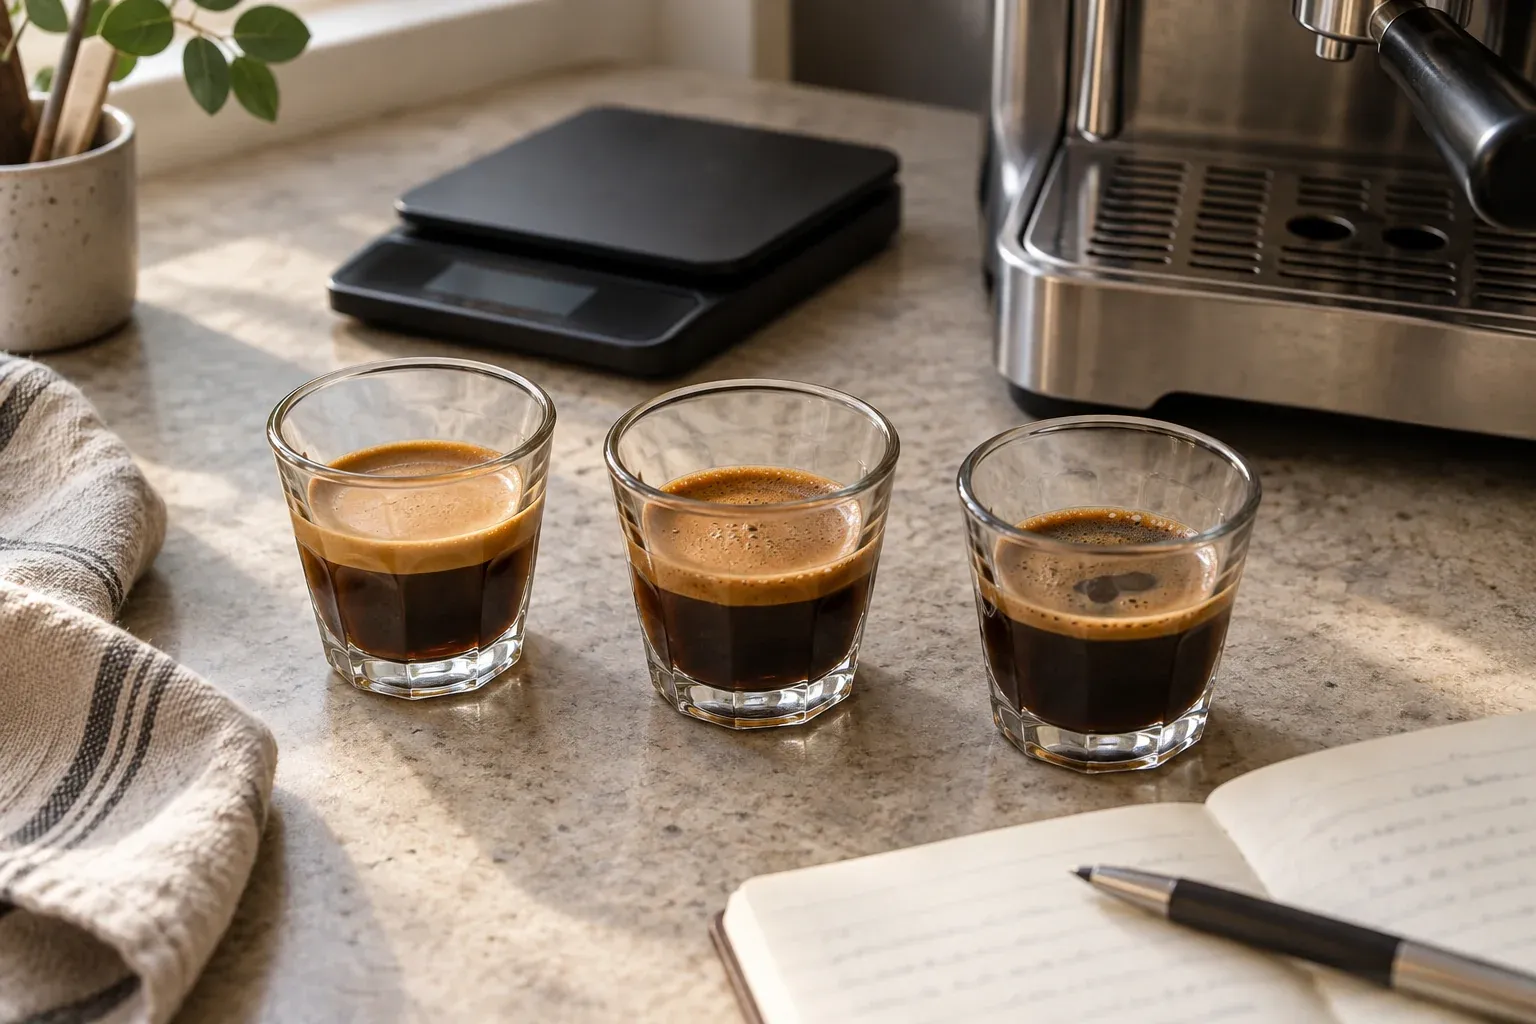
Pull the baseline recipe and stop at 36 grams out, even when the flow looks wrong. Record the time.
If the shot gushes through or barely drips, make a meaningful grind correction before tasting: finer for a very fast shot, coarser for a choking shot. If it lands somewhere around 25–35 seconds, taste it before touching the grinder. That range is only a diagnostic starting point, but it prevents you from trying to interpret the most extreme shots.
Shot two: control the flow
Keep the 18-gram dose and 36-gram yield fixed. Change only the grind until the shot flows evenly enough to taste and compare.
Stir the espresso before sipping because the liquid in the cup is layered. Then taste it warm and again as it cools. Ask three concrete questions:
- Is the acidity pleasant and fruit-like, or sharp and puckering?
- Is the finish sweet and clean, or drying and harsh?
- Does the coffee have enough body, or does it feel thin and empty?
I don’t chase a target time when the shot already tastes good. A balanced 33-second shot needs no correction just because another guide says 30.
Shot three: adjust for taste
Once the flow is repeatable, let flavor choose the next move.
- Sharp, sour, and thin: extract more. Try a slightly finer grind while holding dose and yield steady. If the flow is already slow and even, extend the yield by 2–4 grams instead.
- Bitter, roasty, or drying: extract less. Try a slightly coarser grind, or shorten the yield by 2–4 grams when you want to keep more body.
- Heavy but muted: increase the yield a little. A longer yield makes the drink less concentrated while extracting more from the coffee.
- Bright, sweet, and clean: stop adjusting. The recipe is working.
Yield changes strength and extraction at the same time: increasing it produces a weaker but more extracted espresso, while decreasing it produces a stronger but less extracted one. The Barista Hustle Espresso Compass is a useful visual model for this relationship.
Shot four: make the smallest useful correction
When the espresso is close, reduce the size of your adjustments. One grinder step or a two-gram yield change may be enough.
Leave temperature alone unless grind and yield cannot get the coffee where you want it. Temperature can be useful—particularly when a roast tastes stubbornly sharp or roasty—but changing it early adds another variable before you understand the first two.
Shot five: confirm the recipe
Repeat your best shot without changing anything. One delicious espresso could be luck. Two similar shots tell you the setting is dependable enough to save.
Here is what I record:
- coffee and roast date;
- dose and yield;
- shot time and when timing began;
- grinder and setting;
- water temperature;
- one short taste note;
- the next change you would try, if any.
“Sweet orange, cocoa finish, slightly dry” is more useful tomorrow than a paragraph copied from the tasting wheel. Save the recipe in BurrBean so the next bag begins with evidence instead of memory.
Read the cup
When sour does not simply mean “grind finer”
The usual advice—finer for sour, coarser for bitter—assumes the puck is extracting evenly. A shot can taste sour and bitter at the same time when water finds easy paths through some areas and leaves others under-extracted.
Watch for spurting from a bottomless portafilter, sudden blonding, a stream that favors one side, or big time differences between identical recipes. If two consecutive shots behave differently at the same setting, fix distribution, tamping, basket cleanliness, or grinder retention before changing the recipe.
Consistency rule: when the same settings produce different flows, diagnose preparation before grind size.
Time is evidence, not the target
Shot time describes how your chosen recipe behaved; it does not grade the flavor. Use it to notice big flow changes and to reproduce a shot you liked. CoffeeHQ’s dial-in guide follows the same core loop: fix the dose, fix the yield, adjust the grind, taste, and write the result down.
This distinction matters with pre-infusion. Two machines can report different shot times for similar extractions simply because one includes a long, low-pressure pre-infusion. Consistent measurement on your machine is more useful than comparing its timer with someone else’s.
If every shot still tastes wrong
Stop adjusting and check the system:
- Is the coffee within a useful freshness window for espresso?
- Is the machine fully warm and brewing at a stable temperature?
- Does the basket suit the dose?
- Is the water suitable for brewing and free of obvious off-flavors?
- Are the shower screen, basket, portafilter, and grinder clean?
- Can the grinder make small, repeatable espresso adjustments?
If the espresso is only harsh when tasted straight, try it in the drink you actually make. A concentrated, chocolate-led shot that feels intense alone may be exactly right in milk.
Tomorrow’s shot
Coffee changes after opening, and the same recipe may gradually run faster. Begin with the setting you saved, observe the first shot, and make the smallest change that taste justifies. Do not restart the entire dial-in unless the coffee’s behavior has moved substantially.
The transferable skill is not memorizing 18 grams, 36 grams, or 30 seconds. It is learning a controlled loop:
- Fix the dose.
- Weigh the yield.
- Observe the flow.
- Taste the espresso.
- Change one variable.
- Confirm and record the result.
That little loop is why I enjoy dialing in. A new bag stops being a guessing game and becomes a short experiment—one I can repeat, learn from, and hopefully make a little better the next morning.